
HomeGrown Solution: Simulation Belly
Title
Submitted By
HomeGrown Solution Number
Identification of the Problem
Unique Idea
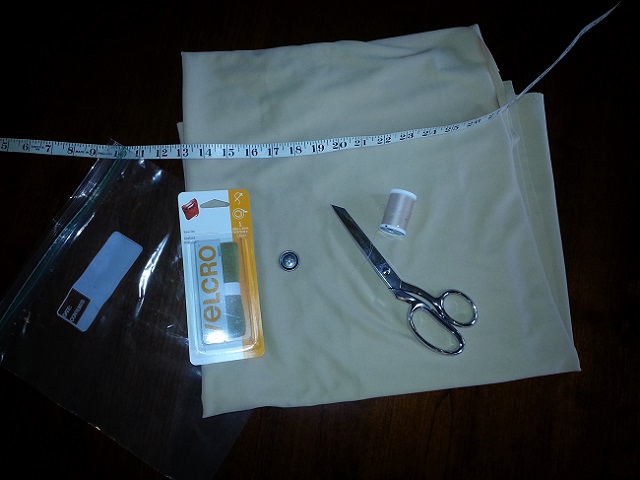
Supplies/Ingredients
- 18 inches of polyester skin colored material (double layer)
- 24 inches of adhesive hook and loop fastener, such as Velcro
- button
- scissors
- one gallon size resealable plastic bag
- small resealable plastic bag filled with water
- sewing needle
- thread
Steps to Creating the Solution
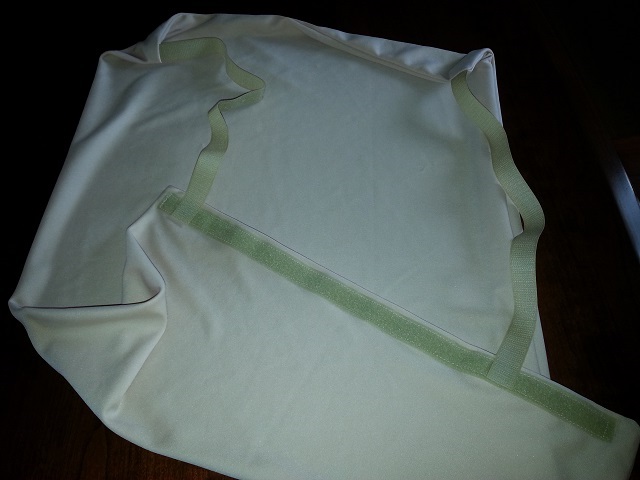
- Fold material in half with folded side on bottom. Sew left sides and right sides of material together to make a bag, leaving the top open.
- Place hook and loop fastener vertically on left side of bag. Place four strips or two longer strips of hook and loop fastener on right side of bag to make adjustable size. In order to make the hook and loop fastener more secure, you may sew it into place.
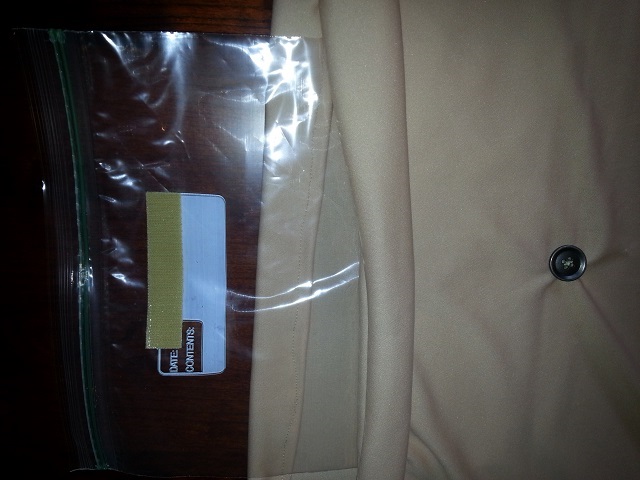
- Sew button on lower center of material (location umbilicus).
- Place adhesive hook and loop fastener on one gallon size resealable bag. Place opposite side hook and loop fastener on inside of belly near the center (umbilicus). Do not sew this hook and loop fastener or the sewing portion will be visible on the outside of the belly.
- Insert small resealable bag with water into gallon size bag with hook and loop fastener for ascites.
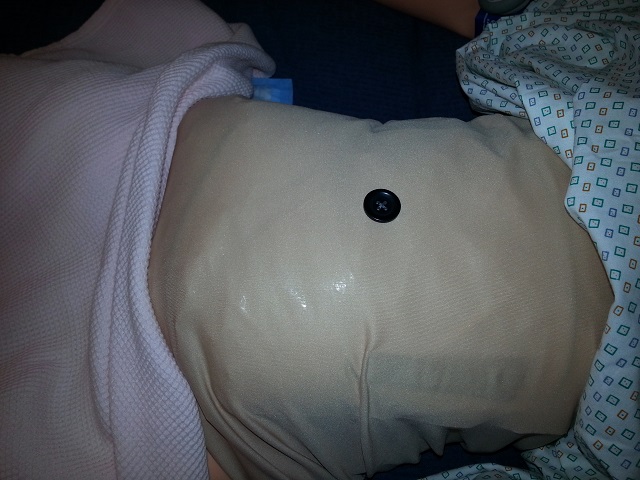
- Insert half of foam ball as a pregnancy belly. Insert soft ball with batting or soft towel into bag to simulate postpartum belly.
- Fill resealable bag and match the hook and loop fastener on bag with hook and loop fastener inside the belly.
Apply belly to standardized participant or manikin.
Images

HomeGrown Disclaimer
The information contained within this website is for information purposes only. While the website is monitored in an attempt to keep the information up to date and accurate, be aware that there are no representations or warranties of any kind, express or implied, about the completeness, accuracy, reliability, and/or suitability being made. The sponsors of this website are not liable for any loss or damage that may result from using information contained within this website. Any reliance you place on the information contained within this website is strictly at your own risk.
Please note that sections of this website include postings of individuals not associated with the website sponsors. These postings are not endorsed or warrantied by the website, and use of such information is at your own risk.
Always check the user guide/manuals provided by the manufacturer of your manikin or task trainer. Using products that are not sanctioned may invalidate the product warranty. (For example: Some products could stain the skin on a manikin. Liquids used around electrical parts may cause malfunctions.)