
HomeGrown Solution: Wound Building
Title
Submitted By
HomeGrown Solution Number
Category
Identification of the Problem
A needs assessment was performed identifying a knowledge gap among students for wound care and wound assessments. The solution was to create wounds with the use of moulage and some basic materials to allow for better assessments and understanding of the healing process for nursing students. This solution can be applied to any aspect of health care.
Unique Idea
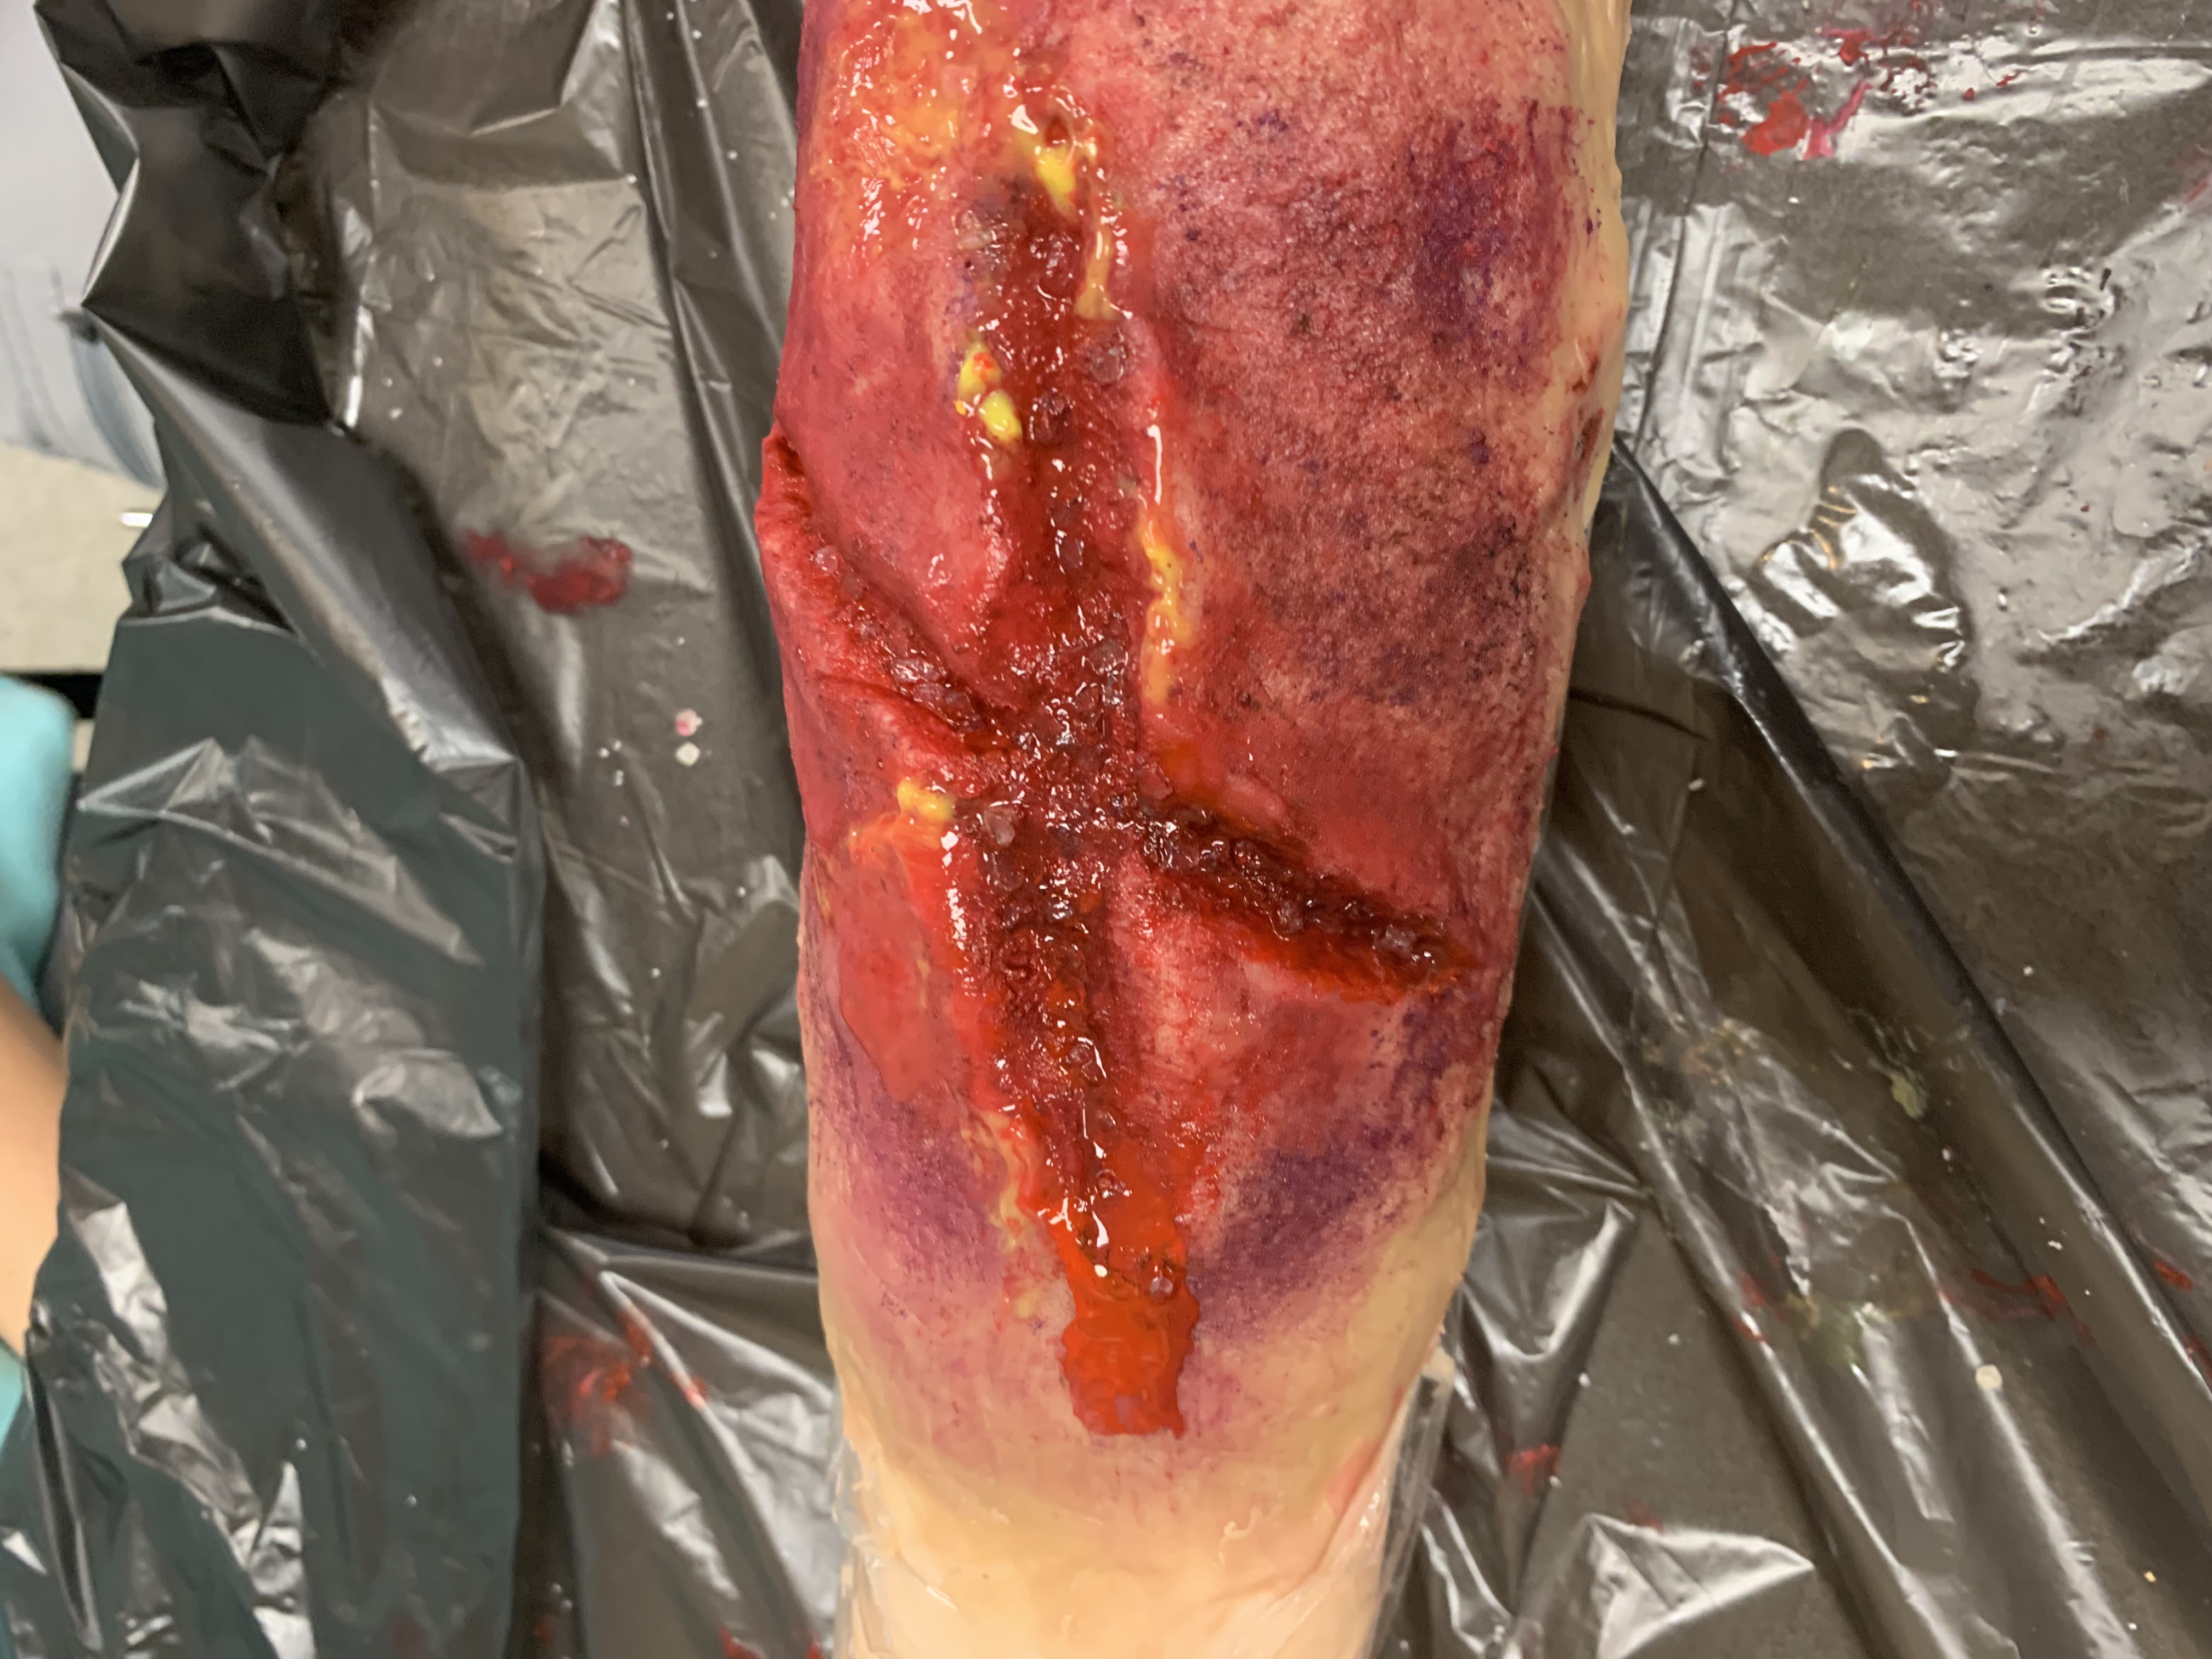
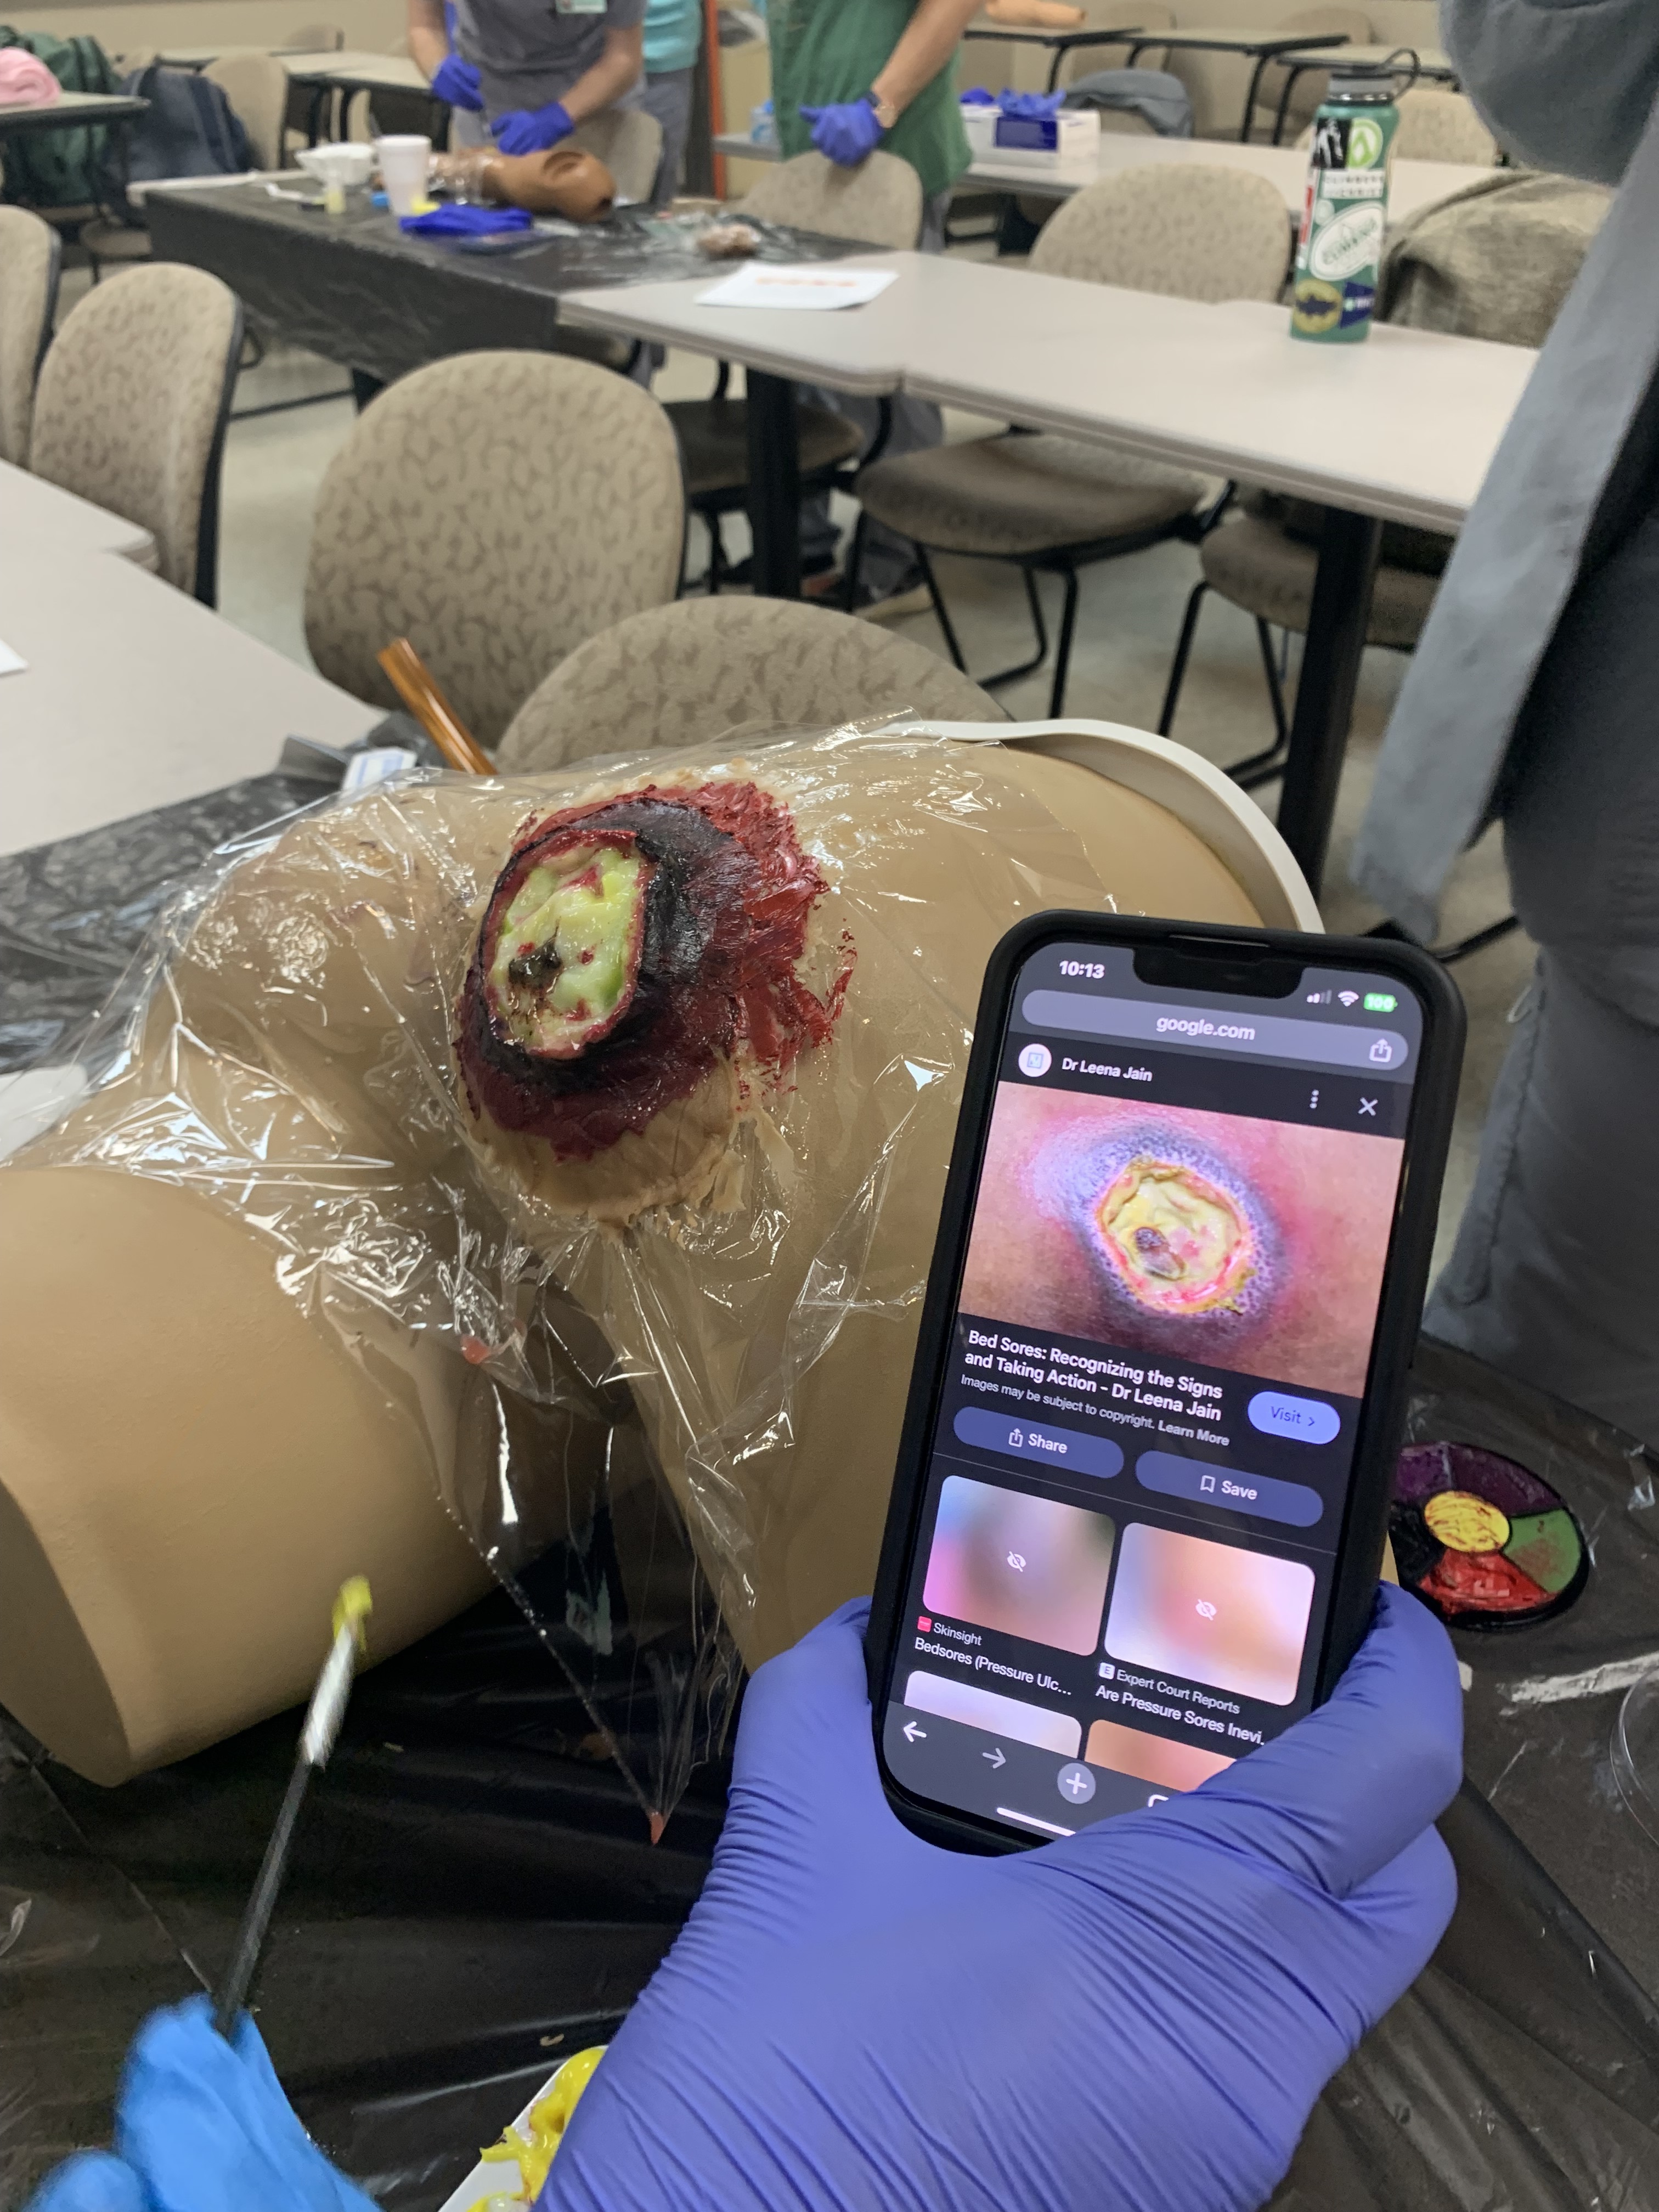
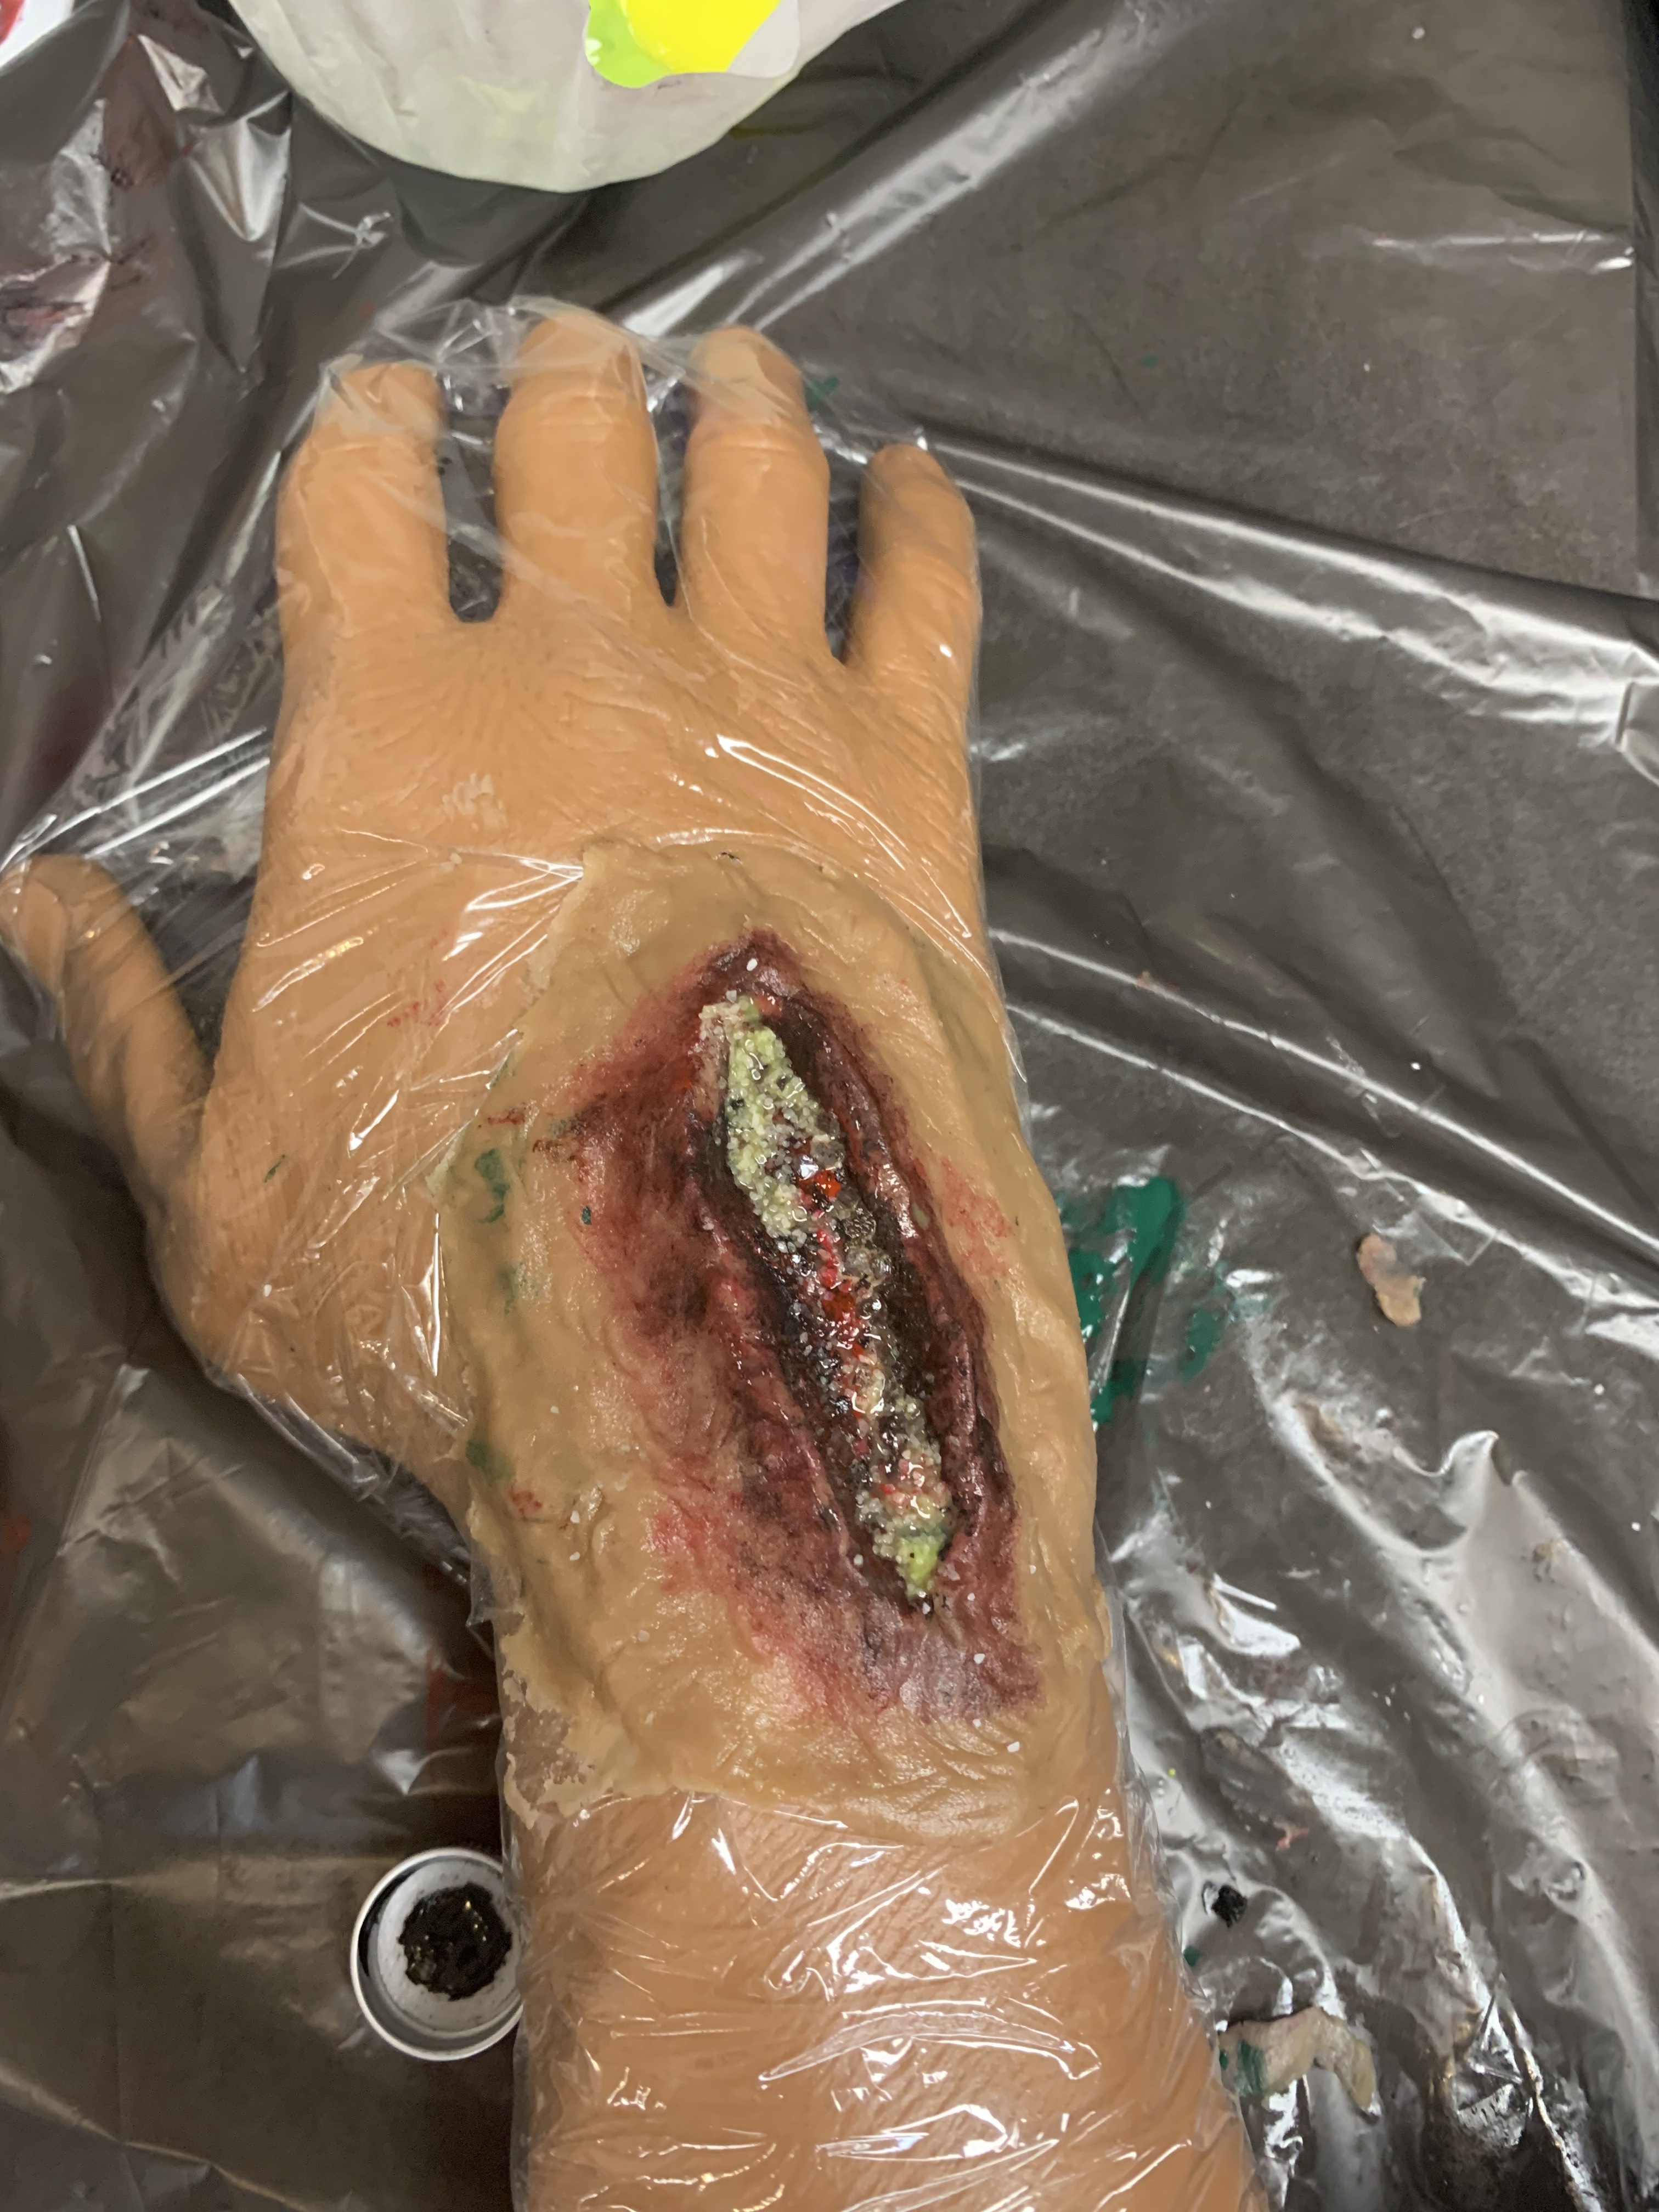
Many simulation scenarios require specific injuries or medical conditions that may not be available with pre-made moulage kits or props. Students were given the opportunity to build their own realistic wounds. Once the wounds were built, with some guidance, they were able to assess wounds built by other students and provided recommendations for patient education and optimal healing.
Creating their own wounds using moulage can significantly enhance simulation education by addressing common issues and contributing to a more immersive experience for learners. By creating your own wounds, you can tailor the moulage to fit the exact needs of your simulation, whether it's a particular type of injury, a specific stage of healing, or a rare medical condition. This customization ensures the scenarios are relevant and realistic for the learners' current training needs.
Objectives
- Enhance realism in simulation: Develop lifelike patient scenarios using moulage to support realistic assessment, decision-making, and hands-on skill development.
- Strengthen clinical competency: Provide learners with opportunities to practice assessment, treatment, and communication skills in a controlled yet immersive environment.
- Foster critical thinking and collaboration: Challenge students to analyze complex cases, make timely clinical decisions, and work effectively within a health care team.
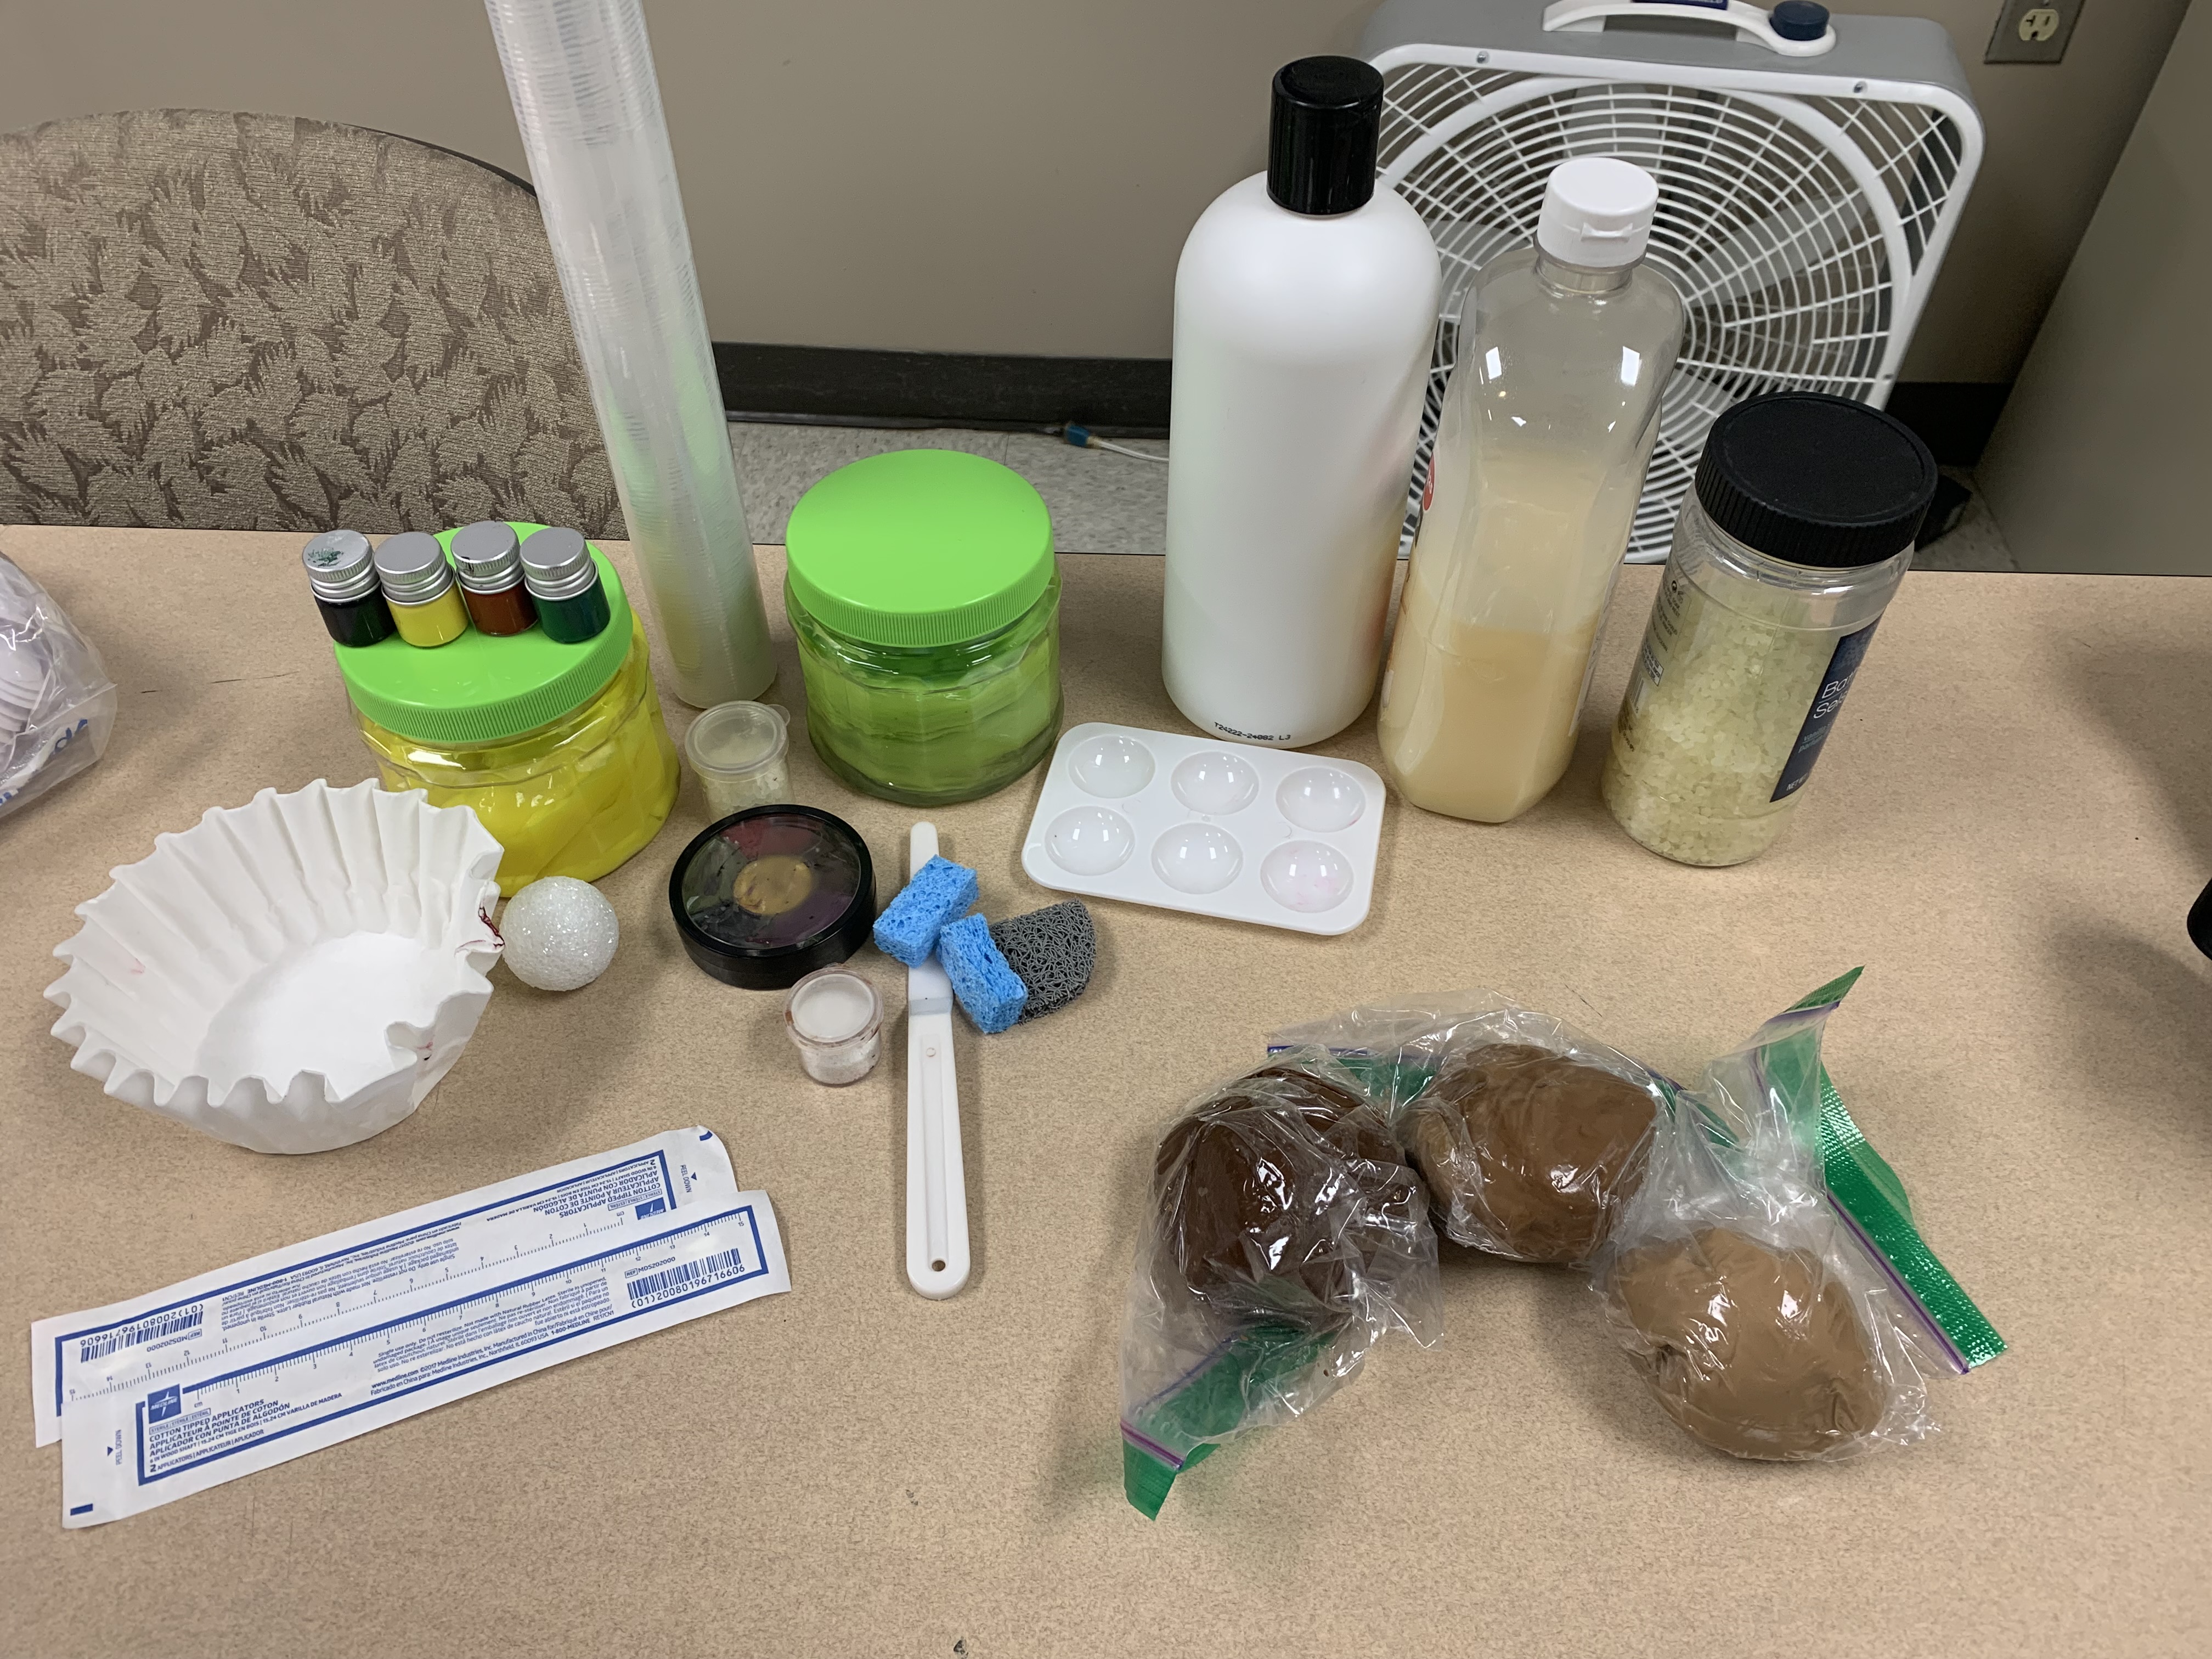
Supplies/Ingredients
Ingredients for basic simulated skin (Rich, 2007)
- 26 ounces of petroleum jelly
- three pounds of cornstarch
- cocoa powder
Supplies for creating realistic wounds
- prepared basic simulated skin from recipe above
- manikin parts
- reclosable plastic bags
- sponges cut into small squares
- acrylic paints, for color
- homemade bruise wheels (eye shadow or paint, distilled water, and isopropyl alcohol - mix together then dehydrate), for color
- hair gel (mix with acrylic paint to make green and yellow exudate)
- bath salts, used for debris or texture
- hair conditioner, to produce white purulent drainage
- liquid hand soap, to produce off-white purulent drainage
- coffee filters, to produce texture or flaky skin
- sand, for debris or texture
Supplies to assess wounds
- long cotton swabs
- gauze
- wound ruler
Steps to Create the Solution
- Create simulated skin. Mix 26 ounces of petroleum jelly, three pounds of cornstarch, and 2 to 6 tablespoons cocoa powder in a large bowl (Rich, 2007). For a deeper skin tone, mix 2 cups of cocoa powder with the same ingredients and add 1 extra tablespoon of petroleum jelly. Once mixed, place various skin tone simulated skin in small reclosable plastic bags.
- Assemble bags of supplies for student teams. Put one of every ingredient listed under the Creating Realistic Wounds supplies list in a large reclosable plastic bag to ease the distribution of supplies to students. Put a wound ruler, multiple long cotton swabs, and multiple sized gauze pads in a bag to assess wounds.
- Place one manikin part at each workstation. Distribute students evenly among the stations, with 2-3 students at each station. Provide each team with one bag of Creating Realistic Wounds supplies that includes the simulated skin tone that best matches their manikin part.
- Set a timer for 20 minutes. Instruct teams to use the time to build almost any wound desired on their manikin part using the supplies available to them in the Creating Realistic Wounds bag. Provide students with a handout of various definitions to help guide them to achieve their desired results.
- After 20 minutes, instruct students to move to another workstation where a wound had been created by another team. Give each team a Wound Assessment Supplies bag. Instruct teams to assess wounds created by their classmates. Teams must include all the following in their assessment: viable or non-viable tissue, measurement of wounds, infection or inflammation, odor, moisture or exudate, edges – advancing or not advancing, and any intrinsic or extrinsic factors. Provide students with a document that has examples and pictures of how to measure to help guide them.
- After assessing the wounds, ask teams to present their findings. Facilitate a discussion after each team presentation to determine if everyone agrees on the assessment.
- Reference:
Rich, H. (2007). Moulage recipes. https://www.cert-la.com/downloads/moulage/moulage-recipes.pdf
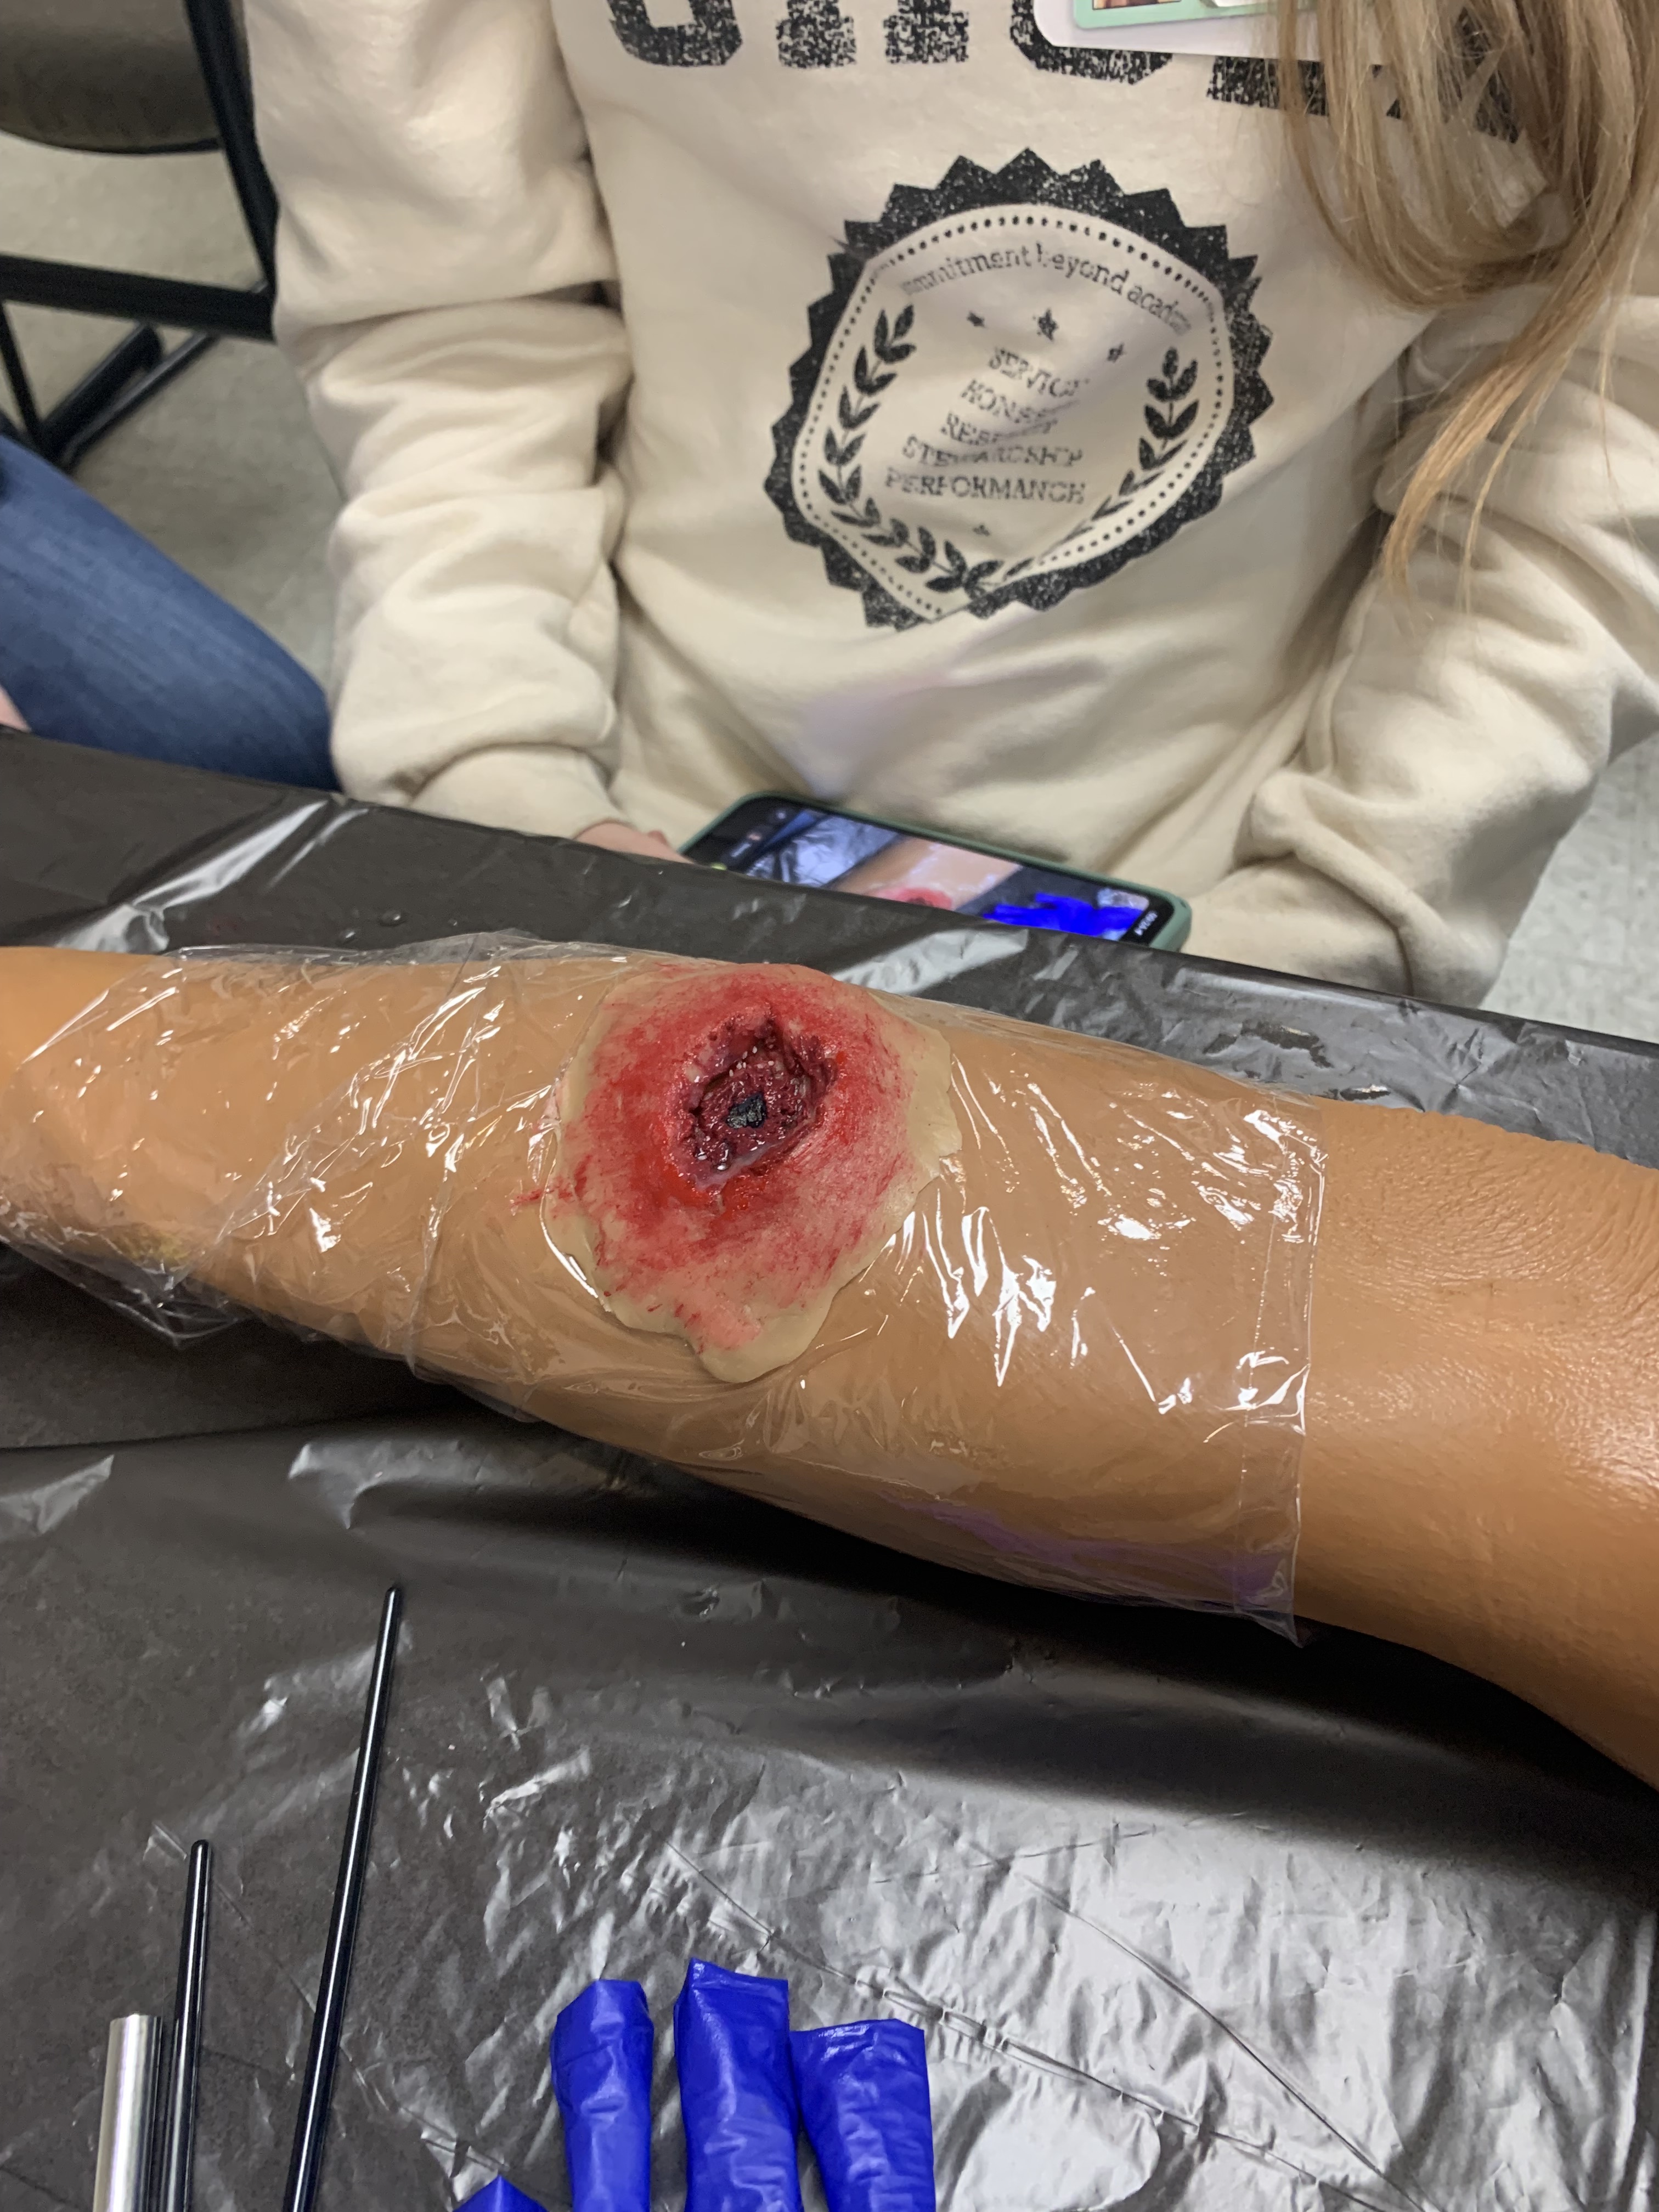
Images
HomeGrown Disclaimer
The information contained within this website is for information purposes only. While the website is monitored in an attempt to keep the information up to date and accurate, be aware that there are no representations or warranties of any kind, express or implied, about the completeness, accuracy, reliability, and/or suitability being made. The sponsors of this website are not liable for any loss or damage that may result from using information contained within this website. Any reliance you place on the information contained within this website is strictly at your own risk.
Please note that sections of this website include postings of individuals not associated with the website sponsors. These postings are not endorsed or warrantied by the website, and use of such information is at your own risk.
Always check the user guide/manuals provided by the manufacturer of your manikin or task trainer. Using products that are not sanctioned may invalidate the product warranty. (For example: Some products could stain the skin on a manikin. Liquids used around electrical parts may cause malfunctions.)