
HomeGrown Solution: SimMom Hand Pump
Title
Submitted By
HomeGrown Solution Number
Identification of the Problem
Unique Idea
Supplies/Ingredients
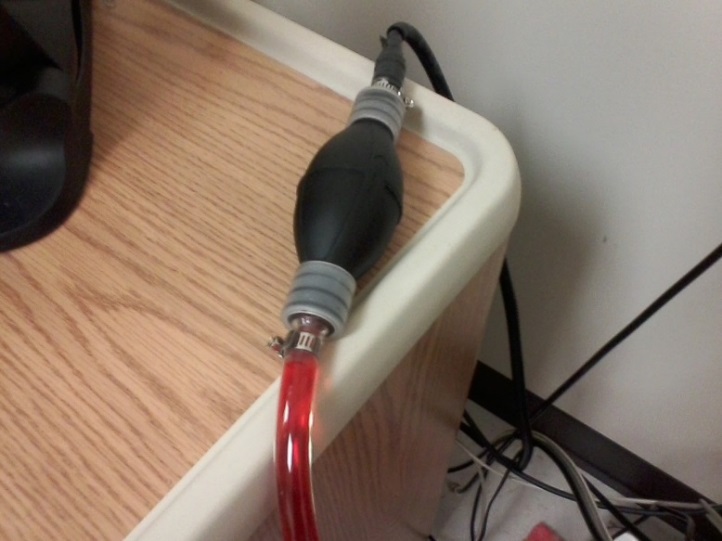
- 1 - hand fluid/siphon pump (with tubing attached) ($6.00)
- 10 feet (more/less depending on your set-up) of ½ inch OSD air tubing ($5.00)
- Industrial waterproof tape (duct tape) ($3.00)
- 10 feet (more/less depending on your set-up) of 1-3/8 inch wire wrap ($3.00)
- 1 - double-ended tubing connector (set of 10 for $3.00 at an automotive shop)
Steps to Creating the Solution
- Gather materials.
- Place the hand pump where you would like it to be placed for pumping during the simulation (to determine air tubing length needed).
- Attach the out-pump tubing from the hand fluid/siphon pump to the new air tubing (long enough to reach SimMom’s pelvis), and secure with a clamp (included in our hand fluid/siphon pump kit) or tape).
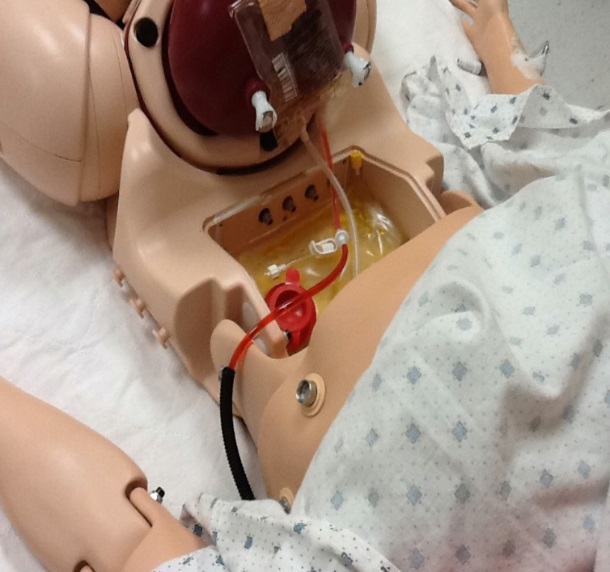
- Remove the red Luer connector (and the white elbow) from the existing blood feed tube.
- Connect the end of the new air tubing (out-pump side of the hand fluid/siphon pump) to the existing blood feed tube (without the Luer connector) using a double-ended tubing connector.
- Secure the tubing as needed with industrial waterproof tape.
- Place the end of the in-pump tubing in a large (half-gallon) container of simulated blood.
- Cover the exposed tubing by wrapping dark wire wrap to disguise the fluid flow.
- Prime the tubing by pumping.
- Pump as needed during simulation.
Images
HomeGrown Disclaimer
The information contained within this website is for information purposes only. While the website is monitored in an attempt to keep the information up to date and accurate, be aware that there are no representations or warranties of any kind, express or implied, about the completeness, accuracy, reliability, and/or suitability being made. The sponsors of this website are not liable for any loss or damage that may result from using information contained within this website. Any reliance you place on the information contained within this website is strictly at your own risk.
Please note that sections of this website include postings of individuals not associated with the website sponsors. These postings are not endorsed or warrantied by the website, and use of such information is at your own risk.
Always check the user guide/manuals provided by the manufacturer of your manikin or task trainer. Using products that are not sanctioned may invalidate the product warranty. (For example: Some products could stain the skin on a manikin. Liquids used around electrical parts may cause malfunctions.)